How to Pot a Plant Properly: A Step-by-Step Guide for Beginners
Repotting a houseplant or seedling causes stress to its roots. Our detailed guide will help you do everything right: from choosing the pot to the first watering.
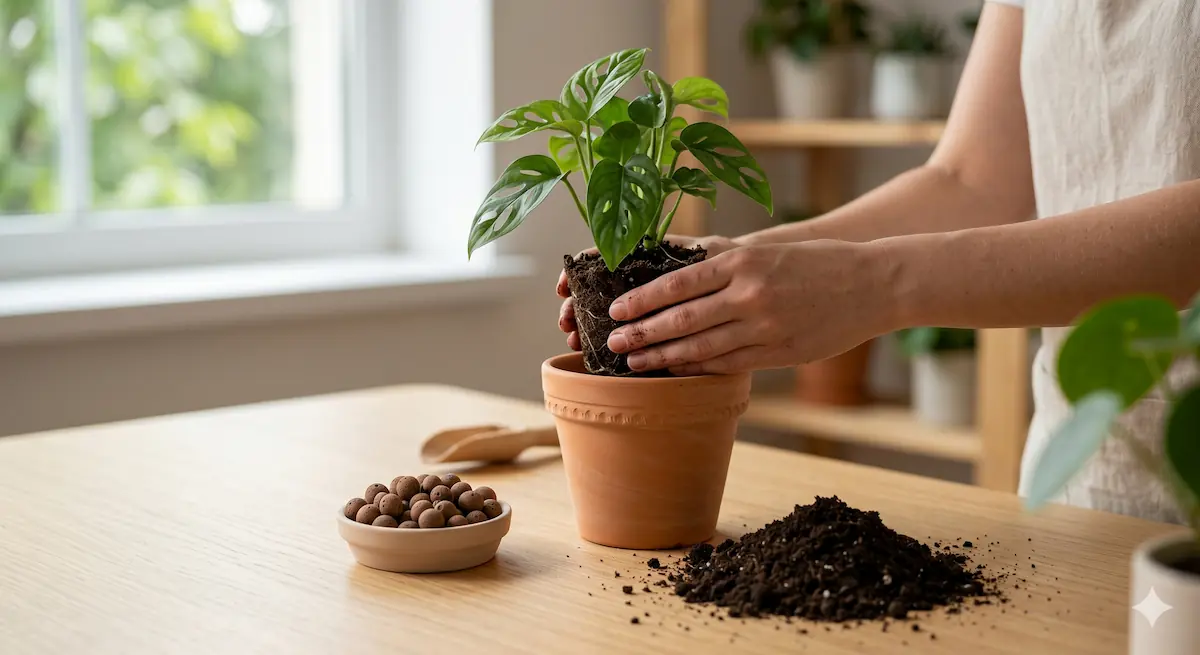
Potting a plant is a foundational skill for anyone who loves greenery in their home, on a balcony, or on a windowsill. Whether you are handling a demanding houseplant or aromatic basil, improper planting can cause root rot or stunted growth. To help your plant adapt quickly, a clear step-by-step algorithm should be followed.
1. Selecting the Right Pot
The golden rule is that a new pot should be only 2-3 cm larger in diameter than the previous one. If you plant a small plant in an oversized container, the soil where no roots reach will begin to sour due to excess watering. Drainage holes at the bottom are an absolute requirement.
2. Drainage Layer and Substrate
The drainage layer (expanded clay, broken ceramics, or small gravel) should occupy about 10-15% of the pot's volume. It allows excess water to flow freely into the saucer. The soil mix should match the specific plant type: for example, greens and vegetables require a loose substrate with a high biohumus content, similar to what we recommended in our spinach growing guide.
Step-by-Step Potting Table (Good)
| Stage | What to Do? | Why is it Critically Important? |
|---|---|---|
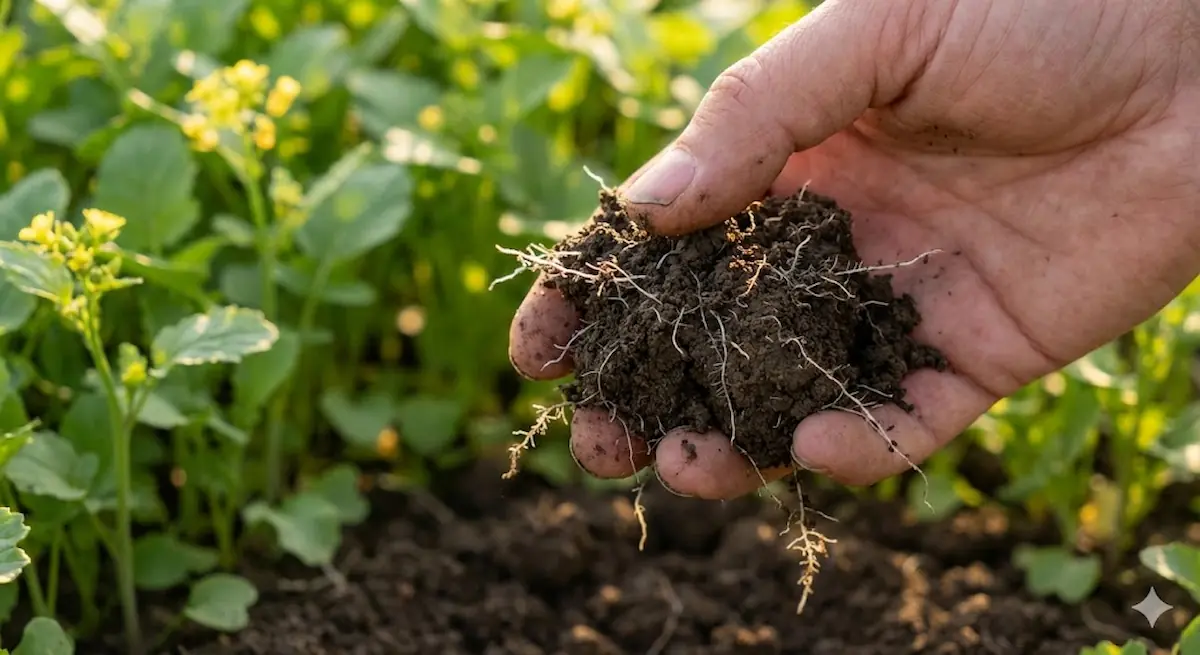
| Preparation | Water the plant one hour before repotting. | The root ball becomes flexible and easily slides out of the old container without root damage. |
| Drainage | Pour a 2-3 cm layer of expanded clay at the bottom. | Prevents water stagnation near the roots and halts the development of root rot. |
| First Layer | Add some fresh soil mix on top of the drainage layer. | Creates a nutrient cushion for the lower roots. |
| Fitting | Center the plant inside the pot along with the remaining old soil ball. | The potting-on method is the least traumatic for delicate feeder roots. |
| Filling | Fill the side voids with new substrate, pressing gently with your fingers. | Eliminates large air pockets that can cause the roots to dry out. |
| Leveling | Ensure the root collar is not buried too deeply. | Planting too deep triggers rotting at the base of the stem. |
| Watering | Moderately water the plant with settled room-temperature water. | Helps the new soil settle snugly around the root system. |
| Adaptation | Place the pot in a spot with indirect light for 3-4 days, avoiding direct sun. | Reduces transplant shock and allows the roots to anchor faster. |
3. What to Avoid? (Bad)
- Large air pockets: If the soil is not lightly pressed at the sides, roots hang in empty space and wither.
- Ice-cold water: Causes a thermal shock to the root system, which may make the plant drop its leaves.
AgroPlanner Tip: Do not feed the plant with fertilizers for the first 2-3 weeks after repotting — the new substrate already contains everything needed, and concentrated salts can burn damaged micro-roots. Use our planner to plan your planting!
AgroPlanner App
Realize your dream garden: check plant compatibility, sun/shade needs, and save your plan easily.
Disclaimer
Important! All information in this blog is for recommendation purposes only. We are developers and enthusiasts, not certified agronomists. Results may vary based on your region, soil type, and weather. We are not responsible for potential errors or crop failures. Please verify critical advice independently!
Found this helpful? Share with friends!
Read more
Siderates in April: What to Plant to Make Your Soil Like Fluff
Why wait for autumn? Learn which cover crops (green manure) you can plant right now to improve soil structure, get rid of weeds, and secure a bountiful harvest.
Read more →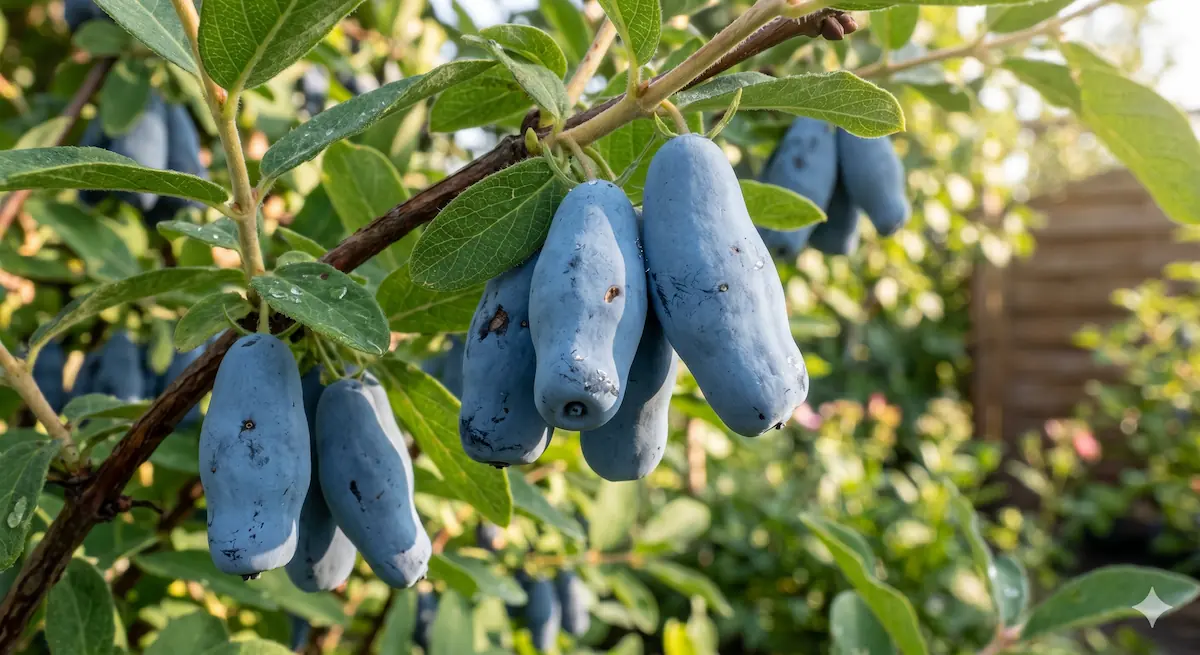
Honeysuckle "Bakcharsky Giant": The Season's First Vitamin Bomb
Honeysuckle is the berry of youth. The "Bakcharsky Giant" variety impresses with its size and flavor. Learn about its soil needs and why it absolutely requires a "pollination partner."
Read more →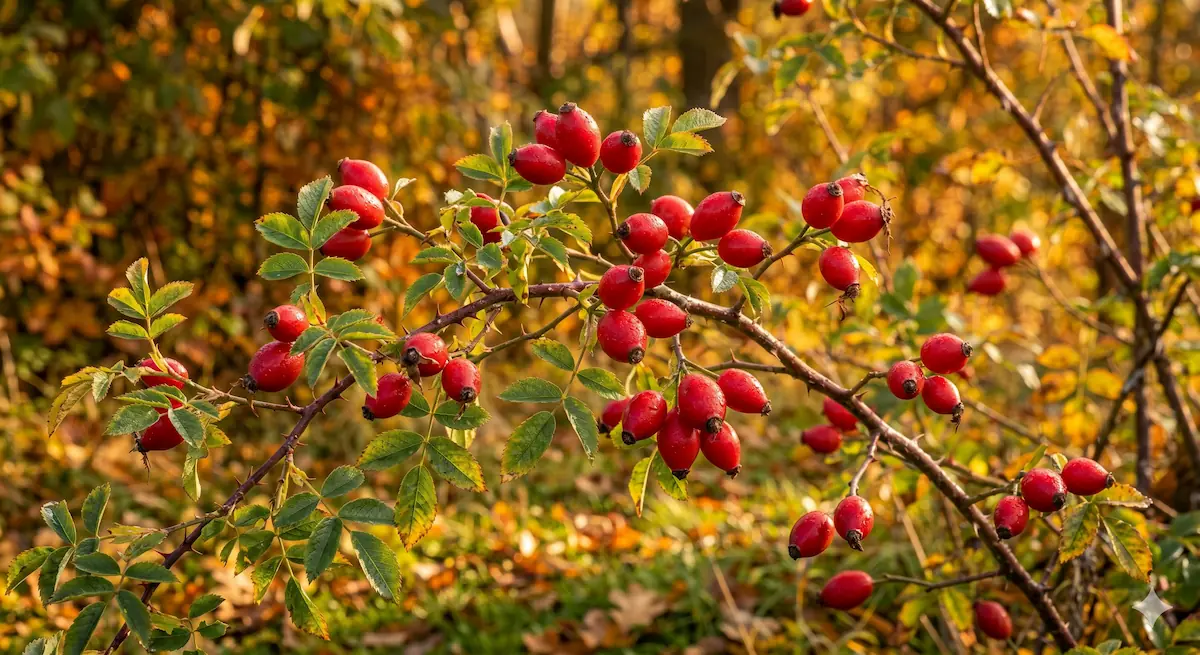
Rose Hip: How to Grow the "Wild Rose" with a Vitamin Treasure
Rose hip is a champion in vitamin C content. Learn how to plant it for a living hedge, why it doesn't fear drought, and how to harvest berries that will save you from winter colds.
Read more →